Galentine's Red Velvet Cheesecake
Highlighted under: Festive Flavor Collection
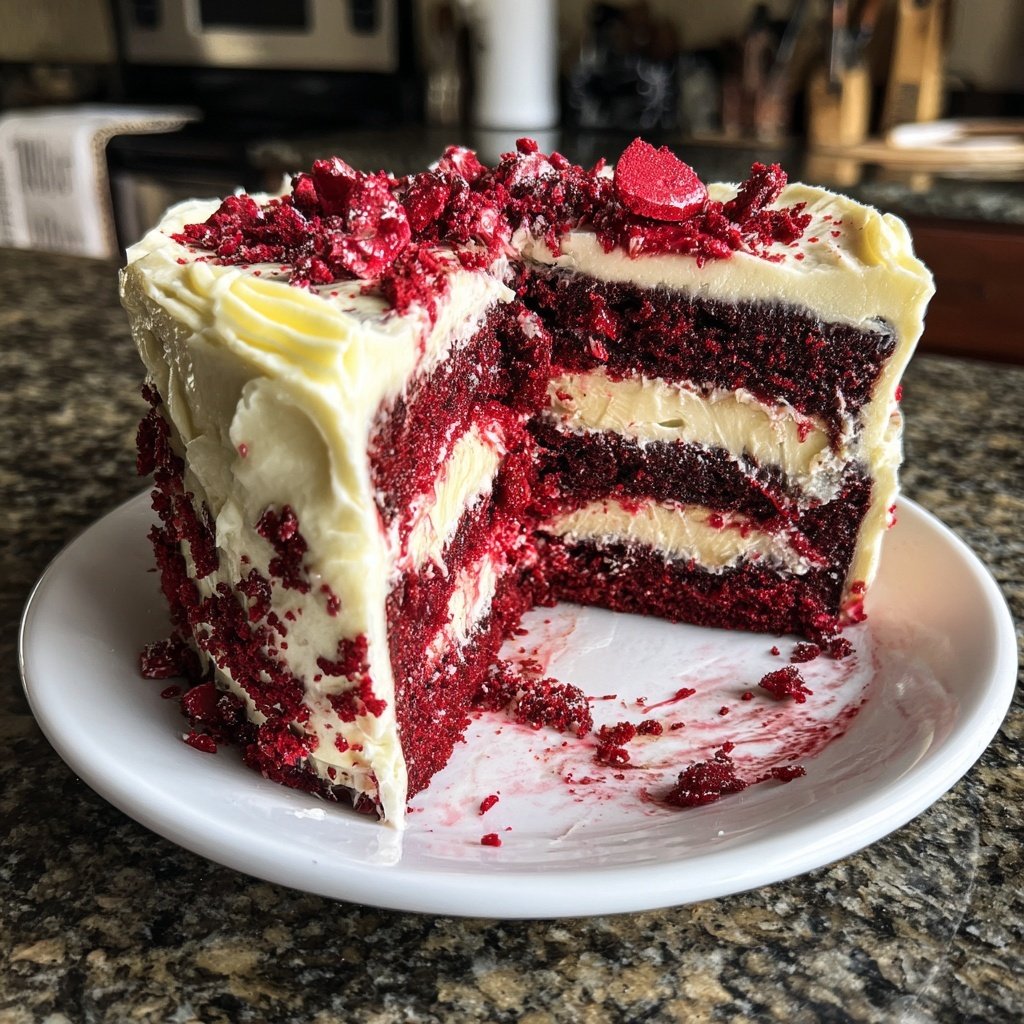
When I first made this Galentine's Red Velvet Cheesecake, it was for a friend's gathering, and I was blown away by how beautiful and delicious it turned out! The vibrant red color combined with the creamy cheesecake layer created an unforgettable dessert that was the highlight of the evening. I love how the rich flavors meld together, making it perfect for celebrating friendships. The best part? It's surprisingly simple to pull off, making it ideal for any occasion where you want to impress your friends with minimal fuss.
During my first attempt at this Galentine's Red Velvet Cheesecake, I focused on finding the right balance between the rich flavors of red velvet cake and the tangy cheesecake filling. After several trials, I discovered that using buttermilk in the cake batter yielded a moist crumb that complemented the cream cheese beautifully. I also learned the importance of letting the cake cool thoroughly before adding the cheesecake layer for the best texture.
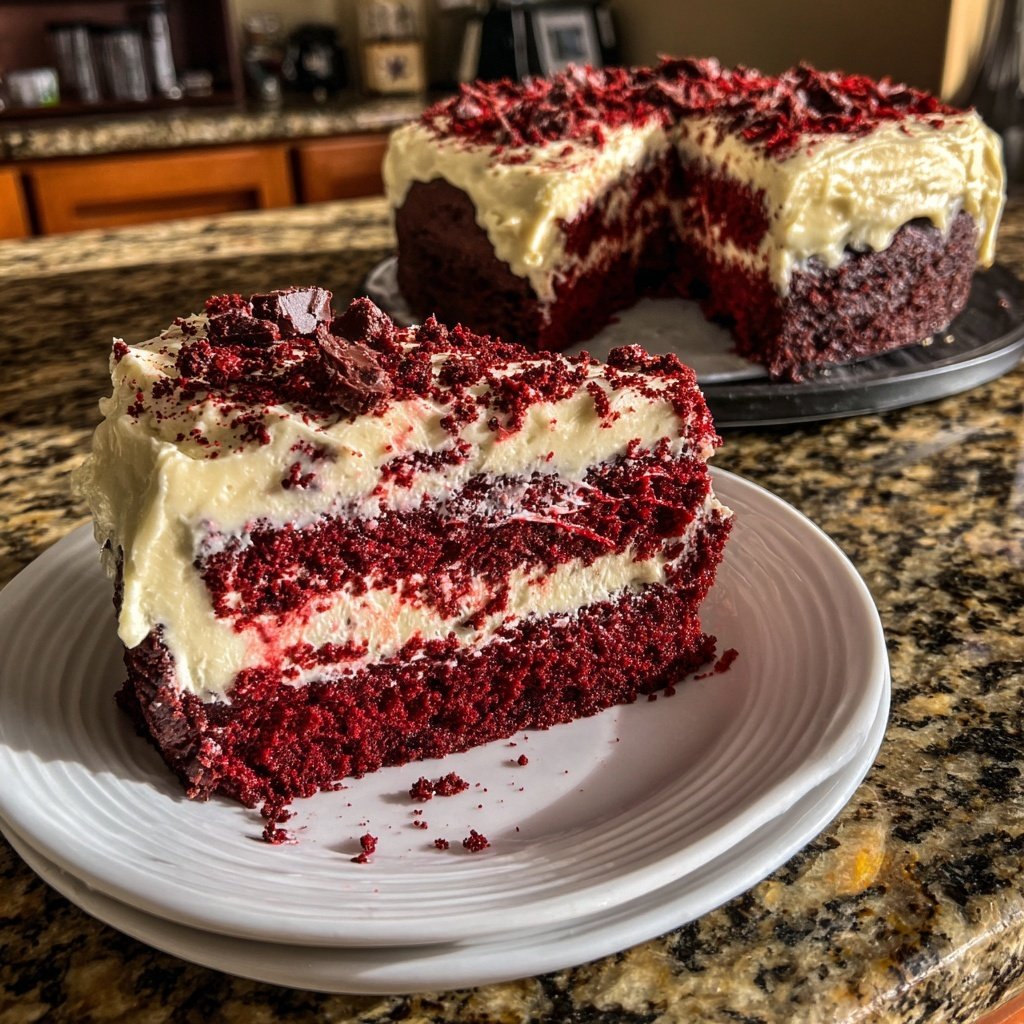
This cheesecake has become a staple at my Galentine's Day celebrations. I love how the vibrant color sparks joy at the table, and my friends can't get enough of it! A great tip is to serve it with a dollop of whipped cream and a sprinkle of chocolate shavings for an extra touch of elegance.
Why You'll Love This Recipe
- Stunning visual appeal that brightens any gathering
- Rich and creamy texture that combines the best of both worlds
- Perfectly balanced flavors that delight the taste buds
Understanding the Ingredients
The foundation of this recipe is its striking red velvet cake, which relies heavily on the use of high-quality cocoa powder to deliver that deep, rich chocolate flavor. The buttermilk is equally crucial, as it reacts with the baking soda to give the cake its fluffy texture. If you're short on buttermilk, you can easily make a substitute by mixing milk with a splash of vinegar or lemon juice and letting it sit for about 5 minutes. This will replicate the acidity needed for a well-risen cake.
The cheesecake filling's cream cheese should be at room temperature to ensure a smooth and creamy texture. Cold cream cheese can result in lumps, which may not blend well with the other ingredients. I suggest beating it on low speed just until it's creamy before adding the sugar and other ingredients to prevent overmixing and keeping the filling light. Rather than using granulated sugar, feel free to experiment with powdered sugar for a smoother finish.
Baking Tips for Success
While baking the red velvet cake, keep a close eye on the time. Ovens can vary, and the cake is done when the top springs back slightly when touched, and a toothpick inserted into the center comes out clean. If it starts to brown too much around the edges, consider tenting it with aluminum foil to prevent over-baking. This small trick can help maintain that tender crumb while ensuring the cake stays beautifully red.
When it comes to the cheesecake layer, the center should jiggle just slightly when you shake the baking dish. This means it's perfectly set and will firm up as it cools in the fridge. Avoid opening the oven door frequently while baking, as this can cause the cheesecake to sink in the middle. If you notice cracks on the surface, don't worry—top it with whipped cream and chocolate shavings to hide any imperfections!
Ingredients
For the Cake
- 2 1/2 cups all-purpose flour
- 2 cups sugar
- 1 teaspoon baking soda
- 1 teaspoon salt
- 1 teaspoon cocoa powder
- 1 1/2 cups vegetable oil
- 1 cup buttermilk
- 2 large eggs
- 2 tablespoons red food coloring
- 1 teaspoon vanilla extract
- 1 teaspoon white vinegar
For the Cheesecake Filling
- 16 ounces cream cheese, softened
- 1 cup sugar
- 1 teaspoon vanilla extract
- 3 large eggs
- 1 cup sour cream
- 1 tablespoon flour
For Garnish
- Whipped cream
- Chocolate shavings
Instructions
Steps
Prepare the Cake Batter
Preheat your oven to 350°F (175°C). In a large bowl, sift together the flour, sugar, baking soda, salt, and cocoa powder. In another bowl, mix the oil, buttermilk, eggs, food coloring, vanilla, and vinegar. Gradually combine the wet ingredients with the dry ingredients until just mixed.
Bake the Cake
Pour the batter into a greased 9-inch round cake pan and bake for about 30-35 minutes. A toothpick inserted in the center should come out clean. Let the cake cool completely before removing it from the pan.
Prepare the Cheesecake Filling
While the cake cools, in a mixing bowl, combine the cream cheese and sugar until smooth. Add in the vanilla, followed by the eggs one at a time, beating well after each addition. Finally, mix in the sour cream and flour until fully incorporated.
Assemble and Bake the Cheesecake
Once the cake has cooled, place it back in the pan. Pour the cheesecake filling over the top and smooth it out. Bake in the oven at 325°F (160°C) for about 25-30 minutes, or until the center is set and slightly jiggles when shaken.
Cool and Serve
Allow the cheesecake to cool completely, then refrigerate for at least 4 hours or overnight. Serve with whipped cream and chocolate shavings on top.
Enjoy!
Pro Tips
- For the best results, make sure all your ingredients are at room temperature before mixing. This helps create a smooth batter and filling. Additionally, letting the cheesecake chill overnight enhances its flavor and texture.
Serving and Presentation
Presentation is key when it comes to this Galentine's Red Velvet Cheesecake! To create a beautiful display, slice the cheesecake and use a spatula to serve cleanly. Garnishing with whipped cream and chocolate shavings not only enhances the visual appeal but also adds texture and flavor contrasts that complement the richness of the cheesecake. Consider using heart-shaped stencils to dust cocoa powder on top for an extra festive touch during Galentine's celebrations.
To fully enjoy the layers' textures, serve each slice with a side of fresh berries for a bright, refreshing contrast. The tartness from the berries balances out the sweet and creamy cheesecake perfectly, adding a burst of color and flavor to your dessert plate.
Storing Leftovers
If you find yourself with leftovers, this cheesecake can be stored in the refrigerator, tightly wrapped or in an airtight container, for up to five days. Make sure to chill it completely first to maintain its texture. For longer storage, consider freezing the cheesecake before adding any garnishes. Wrap it tightly in plastic wrap followed by aluminum foil, and it can last up to three months in the freezer. When you’re ready to enjoy it again, thaw it in the refrigerator overnight before serving.
Defrosting slowly prevents changes in texture and flavor, so resist the urge to microwave it or leave it at room temperature for too long. If you want to serve it with a fresh twist after freezing, whip up a new batch of cream and chocolate shavings just before serving to elevate the cheesecake's taste and presentation.
Questions About Recipes
→ Can I make this cheesecake ahead of time?
Yes! This cheesecake keeps well in the refrigerator for up to 3 days.
→ What can I use instead of buttermilk?
You can substitute buttermilk with regular milk mixed with a tablespoon of lemon juice or vinegar.
→ Can I freeze the cheesecake?
Yes, you can freeze the cheesecake for up to 2 months. Just ensure it’s well-wrapped to prevent freezer burn.
→ How do I know when the cheesecake is done?
The cheesecake should be set around the edges and slightly jiggly in the center. It will firm up as it cools.
Galentine's Red Velvet Cheesecake
Created by: The Flavorsbynoah Team
Recipe Type: Festive Flavor Collection
Skill Level: Intermediate
Final Quantity: 8 servings
What You'll Need
For the Cake
- 2 1/2 cups all-purpose flour
- 2 cups sugar
- 1 teaspoon baking soda
- 1 teaspoon salt
- 1 teaspoon cocoa powder
- 1 1/2 cups vegetable oil
- 1 cup buttermilk
- 2 large eggs
- 2 tablespoons red food coloring
- 1 teaspoon vanilla extract
- 1 teaspoon white vinegar
For the Cheesecake Filling
- 16 ounces cream cheese, softened
- 1 cup sugar
- 1 teaspoon vanilla extract
- 3 large eggs
- 1 cup sour cream
- 1 tablespoon flour
For Garnish
- Whipped cream
- Chocolate shavings
How-To Steps
Preheat your oven to 350°F (175°C). In a large bowl, sift together the flour, sugar, baking soda, salt, and cocoa powder. In another bowl, mix the oil, buttermilk, eggs, food coloring, vanilla, and vinegar. Gradually combine the wet ingredients with the dry ingredients until just mixed.
Pour the batter into a greased 9-inch round cake pan and bake for about 30-35 minutes. A toothpick inserted in the center should come out clean. Let the cake cool completely before removing it from the pan.
While the cake cools, in a mixing bowl, combine the cream cheese and sugar until smooth. Add in the vanilla, followed by the eggs one at a time, beating well after each addition. Finally, mix in the sour cream and flour until fully incorporated.
Once the cake has cooled, place it back in the pan. Pour the cheesecake filling over the top and smooth it out. Bake in the oven at 325°F (160°C) for about 25-30 minutes, or until the center is set and slightly jiggles when shaken.
Allow the cheesecake to cool completely, then refrigerate for at least 4 hours or overnight. Serve with whipped cream and chocolate shavings on top.
Extra Tips
- For the best results, make sure all your ingredients are at room temperature before mixing. This helps create a smooth batter and filling. Additionally, letting the cheesecake chill overnight enhances its flavor and texture.
Nutritional Breakdown (Per Serving)
- Calories: 380 kcal
- Total Fat: 26g
- Saturated Fat: 15g
- Cholesterol: 195mg
- Sodium: 85mg
- Total Carbohydrates: 32g
- Dietary Fiber: 3g
- Sugars: 24g
- Protein: 6g